Ever seen a mysterious image on your phone and wondered, “What the heck is this thing?” Or maybe you spotted a product in someone’s Instagram story that you absolutely need in your life right now. We’ve all been there.
That’s when Google reverse image search for mobile becomes your digital detective. But here’s the problem—most people don’t know how to do it properly on their phones.
In the next few minutes, I’ll show you exactly how to unlock this powerful search tool from your mobile device, without downloading sketchy third-party apps or performing digital gymnastics.
The solution is actually simpler than you think, but there’s one crucial step most tutorials get completely wrong.
Understanding Google Reverse Image Search
What is reverse image search and why it matters
Ever stumbled across a photo and wondered where it came from? That’s where reverse image search comes in. Instead of typing words into a search box, you upload an image and Google finds matching or similar pictures across the web.
It’s basically detective work for your phone. You show Google a picture, and it tells you where else that image appears online, what it might be, and even finds visually similar images.
This matters because sometimes words just aren’t enough. Maybe you found a product but don’t know its name, or you’re trying to verify if an image is authentic. Text searches fall flat in these situations.
Benefits for mobile users
The mobile advantage is huge. You’re capturing photos on your phone all day long, and sometimes you need answers about them right away.
Mobile reverse image search lets you:
- Identify products you see in the wild
- Check if that amazing deal is actually a scam
- Find the original source of viral images
- Discover who that actor is in the movie you’re watching
No need to email yourself photos or switch to a computer. You can search directly from where most of your photos live – your phone.
Common use cases and applications
People use reverse image search in surprisingly clever ways:
Shopping smart: Snap a photo of furniture, clothing, or accessories to find similar items or better prices.
Fact-checking: That shocking news photo making the rounds? Verify it’s current and not from years ago.
Plant and animal identification: Found a weird bug or beautiful flower? Upload and identify it.
Tracking image usage: Photographers and artists check if their work appears elsewhere without permission.
Finding high-resolution versions: Discovered a low-quality image you love? Search for better versions.
Travel planning: See a stunning destination on social media? Find out exactly where it is.
The applications are endless, making this tool incredibly powerful right from your pocket.
Methods to Use Google Reverse Image Search on Mobile
Using the Google Chrome browser
Found a cool image on your phone and wondering where it came from? Chrome’s got you covered. Here’s how to do it:
- Open Chrome on your mobile device
- Go to images.google.com
- Tap the desktop site icon (three dots in the upper right corner)
- Select “Desktop site” from the dropdown menu
- Now you’ll see the camera icon in the search bar
- Tap it and choose “Upload an image”
- Select the image from your phone’s gallery
Super simple once you know the trick! The desktop site view is key here since the mobile version doesn’t show the camera icon by default.
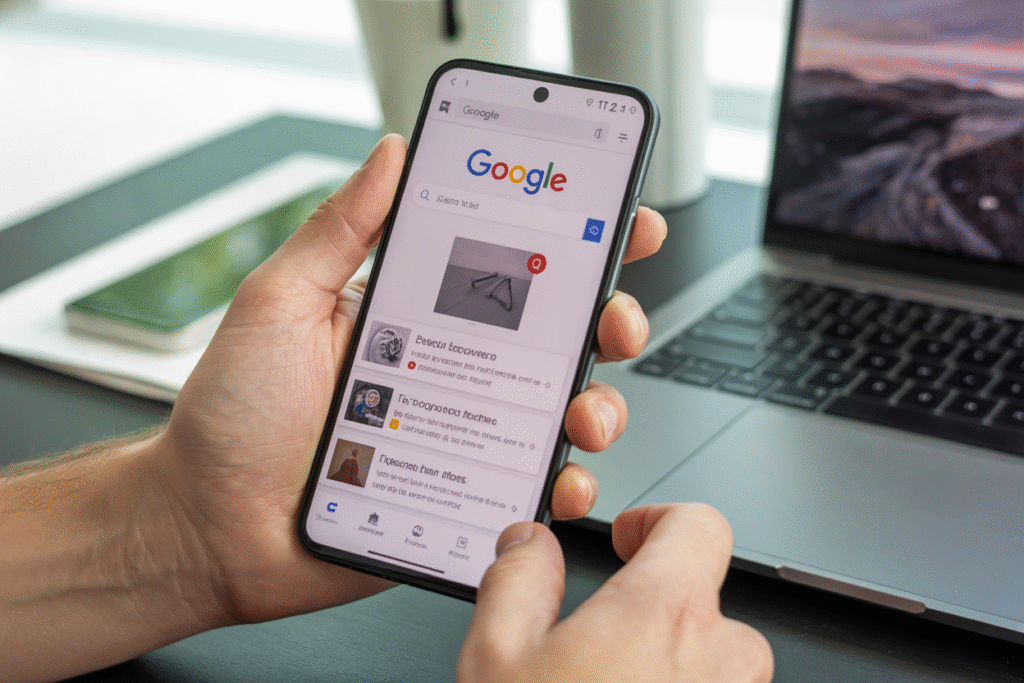
Using the Google app
The Google app makes reverse image searching even easier:
- Open the Google app on your phone
- Tap the camera icon in the search bar
- Either take a new photo or upload one from your gallery
- Google will show you similar images and relevant search results
This method is probably the quickest way to search by image when you’re on the go.
Using the Google Lens feature
Google Lens is seriously magical. It doesn’t just find similar images—it actually identifies what’s in them:
- Open Google Photos or the Google app
- Select an image or point your camera at something
- Tap the Lens icon (looks like a square with a dot inside)
- Lens will analyze the image and provide results
Lens can identify products, landmarks, plants, animals, and even solve math problems from photos. It’ll also find visually similar images across the web.
Third-party apps that enable reverse image search
Don’t want to use Google’s apps? Try these alternatives:
- Reverse Image Search App: Simple interface dedicated to image searches
- Search By Image: Supports multiple search engines including Google, Bing, and Yandex
- CamFind: Takes a photo and tells you what it is with impressive accuracy
- TinEye: Focuses specifically on finding exact image matches and modifications
These apps often provide more search options than Google alone, making them perfect for power users who need to trace image origins.
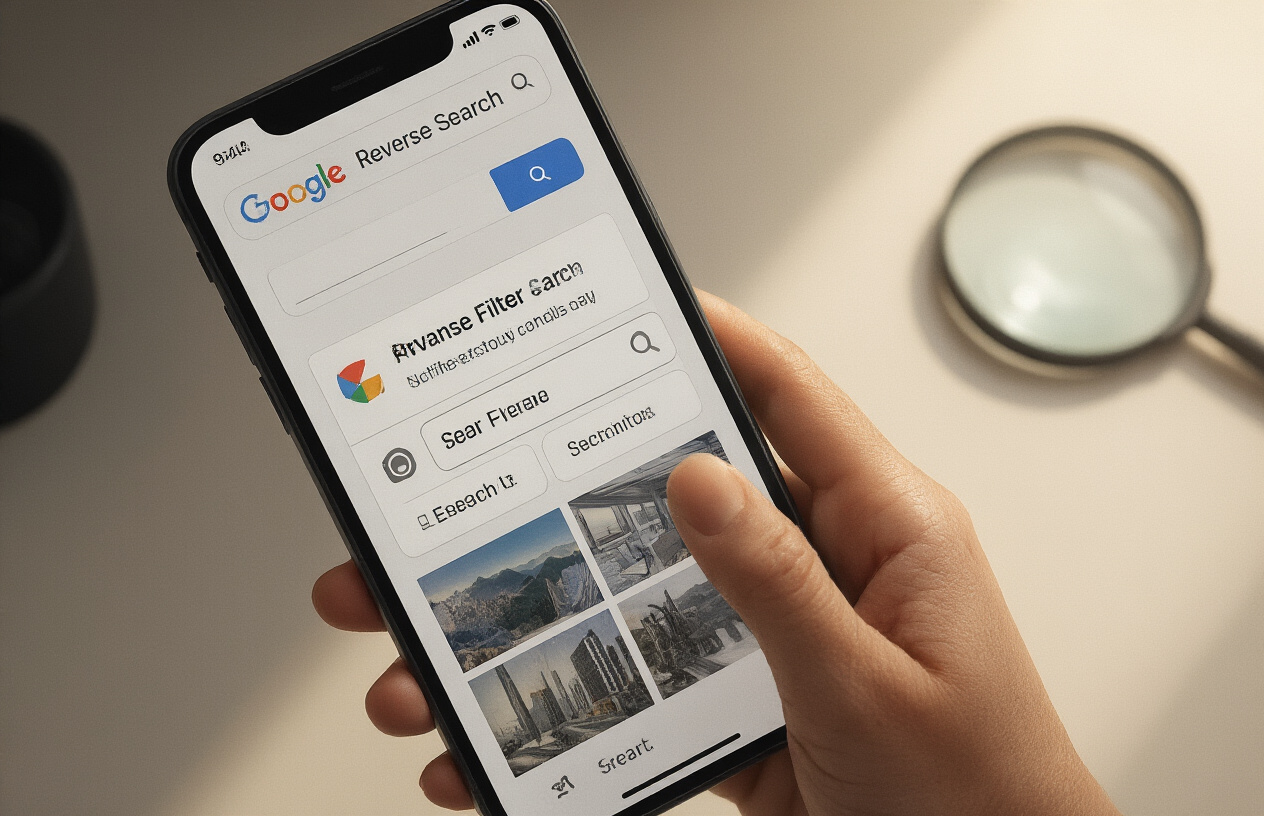
Step-by-Step Guide for iPhone Users

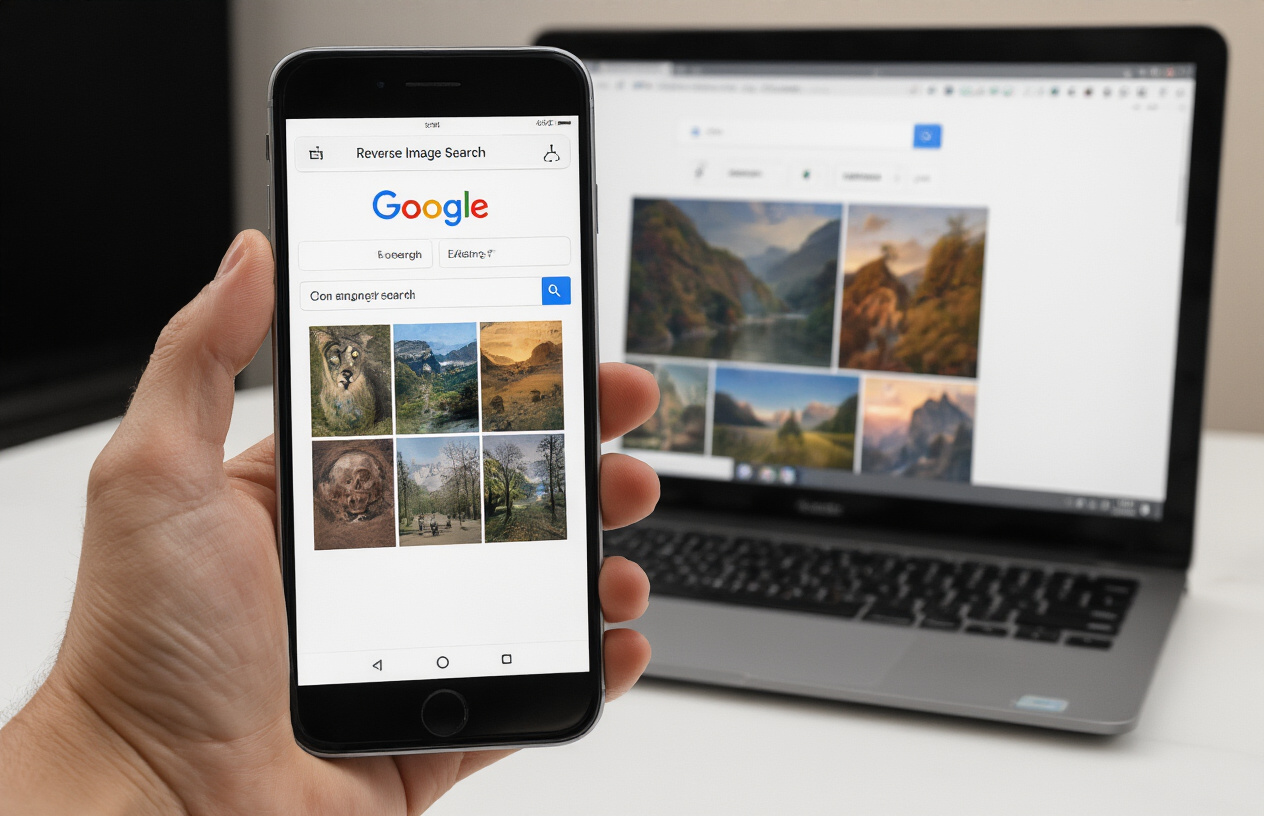
Using Safari browser’s workaround
Stuck without the Google app on your iPhone? No problem. Safari can handle reverse image searches with a simple trick. Just hold your finger on any image while browsing in Safari. A menu pops up—tap “Request Desktop Website.” Suddenly, you’re using the full version of Google Images!
The magic happens because the desktop version gives you access to the camera icon in the search bar. Tap it, and you can either upload an image or paste an image URL. It’s a bit smaller on your phone screen, but totally works.
This workaround is perfect when you spot something interesting while already browsing. No need to screenshot, switch apps, or do that awkward dance between programs.
Google app method for iOS
The Google app makes everything easier. Download it from the App Store if you haven’t already.
Open the app and tap the camera icon right in the search bar. It launches Google Lens instantly. Point your camera at whatever you’re curious about—a landmark, product, plant, or that weird bug on your porch.
Google analyzes it in real-time. No uploading needed. Just point and learn.
The app also lets you search existing photos. Tap the camera icon, then the gallery icon. Pick any image from your photo library, and Google works its magic.
Screenshots and photo library access
Sometimes you need to search an image that’s not right in front of you. Screenshots are your best friend here.
When you see something search-worthy online:
- Take a screenshot (press power + volume up buttons simultaneously)
- Open the Google app
- Tap the camera icon
- Select your screenshot from recent photos
First time doing this? You’ll need to grant Google access to your photos. You can choose “Select Photos” for privacy or “All Photos” for convenience.
Pro tip: Create an album just for images you want to search. This keeps everything organized when you’re researching products or collecting inspiration.
Step-by-Step Guide for Android Users
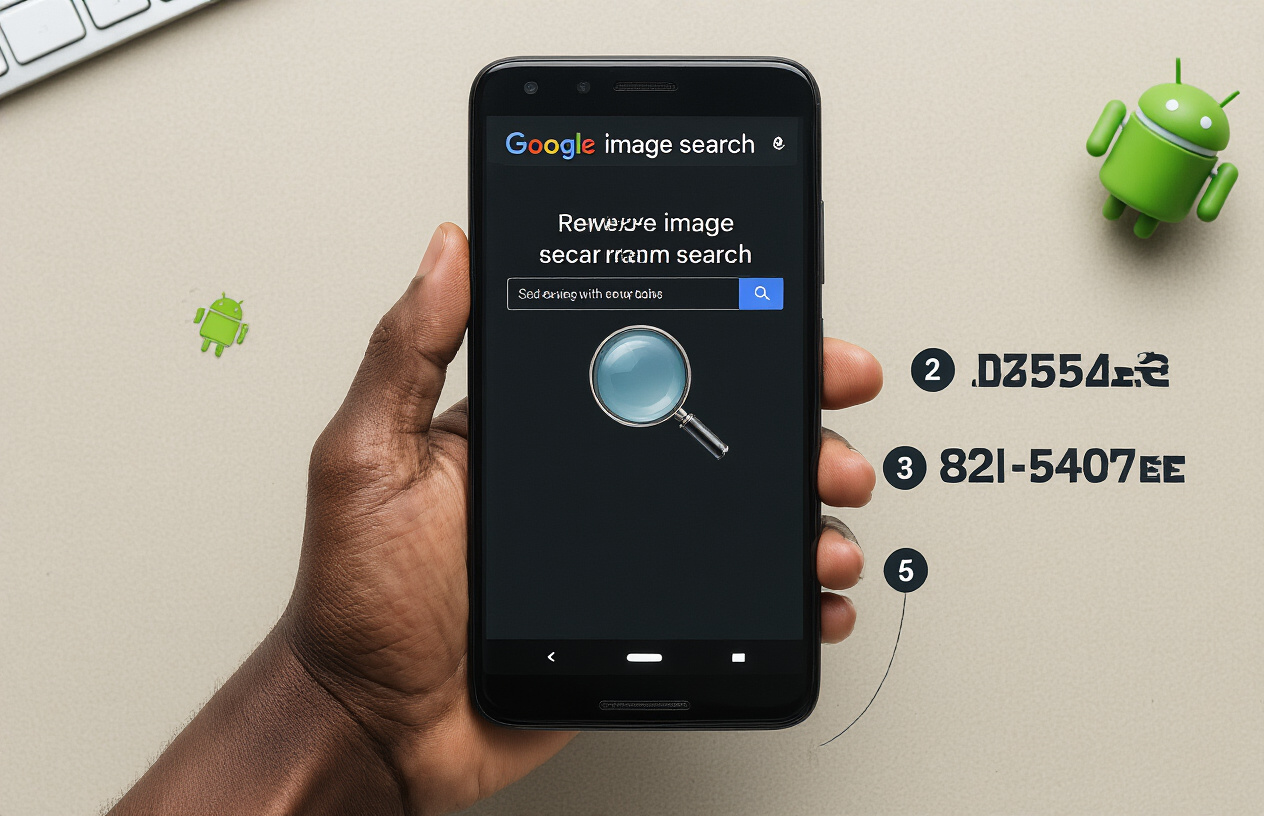
Chrome Browser Method
Got an Android phone? Using Google’s reverse image search couldn’t be easier. Here’s how to do it through Chrome:
- Open Chrome on your Android device
- Go to images.google.com
- Tap the three dots in the top-right corner
- Check “Desktop site” in the dropdown menu
- Now you’ll see the camera icon in the search bar
- Tap it and choose “Upload an image”
- Select a photo from your gallery or take a new one
The desktop version trick is a game-changer. No more pinching and zooming – you get the full experience right on your phone.
Google App Integration
The Google app makes reverse image searching even faster:
- Open the Google app on your Android
- Tap the camera icon in the search bar
- Point your camera at something or tap “Search with your gallery”
- Select the image you want to search
- Google will identify objects and show similar images instantly
This method is perfect when you’re out shopping and want to find better prices online. Just snap, search, compare!
Google Lens Direct Access
Google Lens is reverse image search on steroids:
- Open Google Lens (standalone app or through Google app)
- Point your camera at anything interesting
- Tap on specific objects in the viewfinder
- Swipe up to see search results, shopping options, and similar images
Google Lens doesn’t just find images – it identifies landmarks, translates text, solves math problems, and even tells you what plant you’re looking at.
Gallery App Integration Options
Many Android phones now have reverse image search built right into the gallery:
- Open your Gallery or Photos app
- Select any image
- Look for the Google Lens icon or three-dot menu
- Tap “Search with Google Lens” or similar option
Samsung, Pixel, and many other Android devices offer this integration. It saves you time by eliminating app-switching when you’re curious about something in your photos.
Advanced Tips for Better Results
A. Improving image quality for better matches
Getting fuzzy results from Google Reverse Image Search? The quality of your source image makes a huge difference. If you’re working with a blurry or low-resolution photo, Google will struggle to find accurate matches.
Try these quick fixes:
- Screenshot the clearest version you can find
- Adjust brightness and contrast on your phone before searching
- Remove filters that might confuse the algorithm
- Use the highest resolution version available
Seriously, don’t underestimate this step. I’ve seen search results go from “random similar-colored blobs” to “exact match” just by using a clearer version of the same image.
B. Cropping techniques to focus on important elements
Sometimes less is more. When you’re trying to find a specific object in an image, crop out the background noise.
For example, if you’re searching for a lamp in a living room photo, crop the image to show just the lamp. This tells Google, “Hey, find me THIS specific thing” rather than “find me rooms that look vaguely like this.”
The reverse works too – if you’re getting too many results of a specific person’s face, crop to show the background or clothing instead.
C. Understanding search filters and options
Once your search results appear, don’t just accept the first page! Google gives you powerful filtering tools:
- Click “All” to see everything
- “Images” shows visually similar results
- “Pages” finds websites containing your image
- Use “Tools” to filter by size, color, usage rights, or time
The “Find other sizes” option is a hidden gem. It often reveals the original high-resolution version when you’ve started with a thumbnail.
D. Saving and organizing your search results
Don’t lose those perfect matches you found! Create a system:
- Use browser bookmarks with descriptive folders
- Screenshot results with the search query visible
- For serious research, try a dedicated bookmarking tool like Pocket
- Use Google Keep to save images with notes about why you saved them
I organize mine by project name, then by image type. Makes finding them later a breeze.
E. Troubleshooting common issues
Running into problems? These fixes work 90% of the time:
| Issue | Quick Fix |
|---|---|
| No results | Try a different browser or device |
| Too many irrelevant results | Use more specific cropping |
| Mobile app not working | Use desktop mode in your browser |
| Image won’t upload | Reduce file size or try a different format |
| Results in wrong language | Add your preferred language to search terms |
If Google keeps showing shopping results when you want information, add “-shopping” to your search to exclude those results.

Google Reverse Image Search is a powerful tool accessible to all mobile users, whether you’re on iPhone or Android. By following the step-by-step guides outlined in this post, you can easily search using images directly from your smartphone—whether through the Google app, Chrome browser, or specialized search engines tailored for visual searches.
Remember that the quality of your search results depends on the clarity of your image and how specific your search parameters are. Experiment with cropping images, using alternative search engines, and combining image searches with text queries to get the most precise results. Now that you have these tools at your fingertips, you can identify unknown objects, find image sources, or discover similar products with just a few taps on your mobile device.